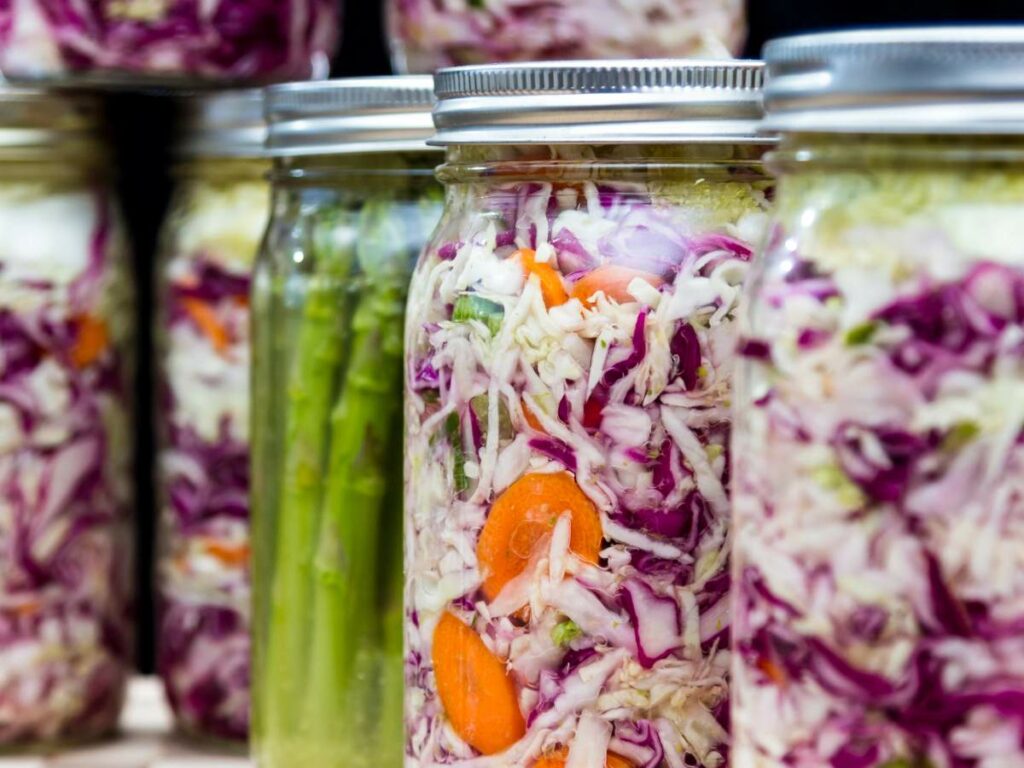
Have you tried fermented foods? You probably have – think sauerkraut, pickles, or kombucha. Fermenting is a great way to preserve food and add healthy probiotics to your diet. This guide will teach you the basics of fermenting vegetables at home.
What is Fermenting?
Fermenting is an age-old way to preserve food, used worldwide. Like water bath canning, it lets you store food for a long time without a fridge or freezer.
Fermenting vs. Pickling
- Fermenting: Good bacteria and yeast break down natural sugars in vegetables, creating acid. This preserves the food and adds a tangy flavor.
- Pickling: Vinegar creates the acid, not bacteria.
Fermented vegetables can last up to six months in the fridge, while canned pickled vegetables can last even longer.
Benefits of Fermenting Vegetables

- Gut Health: Fermented foods are full of probiotics, which are good bacteria that help your digestion and immune system.
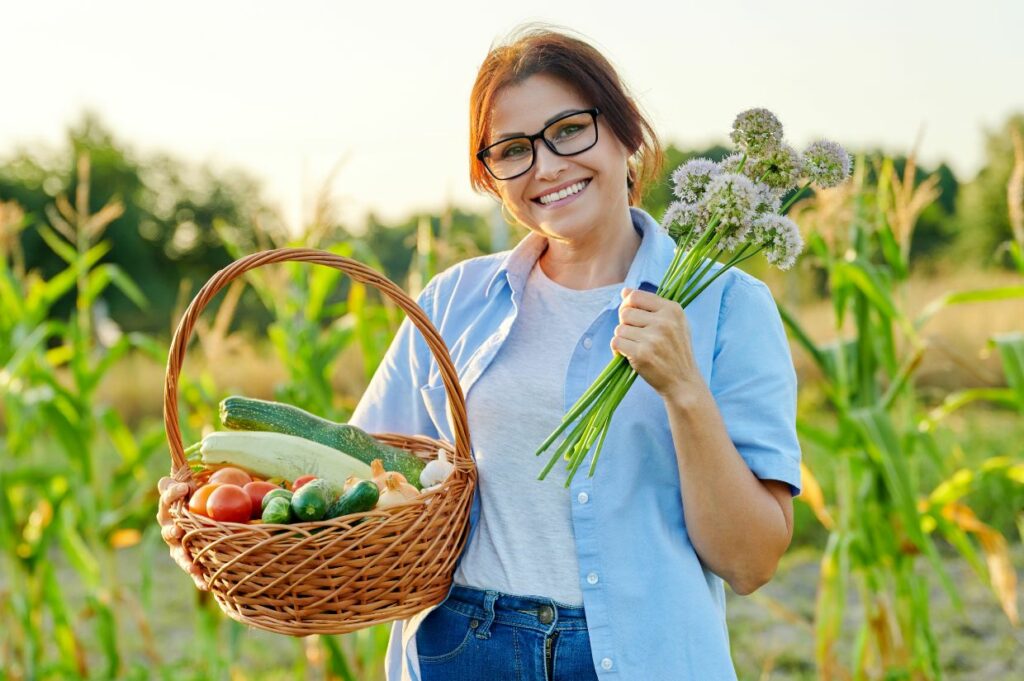
- Preserve Your Harvest: Fermenting is a cheap way to preserve extra vegetables from your garden or the farmers market.
- Add Flavor: Fermented vegetables add unique flavors and textures to your meals. Think tangy pickles or spicy kimchi!
“I took a class on making kombucha at home and immediately became obsessed with all things kombucha, especially coming up with fresh flavors. Fermenting was easier than I thought it would be. The class helped to break things down in a helpful, friendly way.” — Susannah Brinkley Henry, Feast + West
Popular Fermented Foods
You’ve probably tried these fermented foods:
- Yogurt
- Wine
- Beer
- Sourdough bread
- Kombucha
- Sauerkraut
- Kimchi
- Tempeh
- Natto
- Miso
How Fermenting Works

Bacteria and yeast break down the sugars in vegetables, creating lactic acid. This preserves the food and adds a tangy flavor. The process also increases vitamins and adds probiotics.
To ferment successfully, you need to create an environment without oxygen (anaerobic) so the good bacteria can thrive.
How to Ferment Vegetables

It’s easy! Start with a simple, trusted recipe, like dill pickles.
“I love making homemade sauerkraut. The fresh, crispy crunchy flavor is so delicious in sandwiches and all by itself. Once I discovered how easy fermenting was, I started trying to ferment everything.” — Laura Sampson, Little House Big Alaska
Equipment
- Wide-mouth glass jars or fermentation crocks
- Weights to keep vegetables submerged (a small plate or clean rocks work)
- Non-iodized salt (sea salt is good)
- Filtered water
- Fresh organic vegetables (picked within 24 hours)
Steps
- Wash everything: Clean your jars, equipment, and vegetables with hot water.
- Prepare vegetables: Choose fresh, firm vegetables without bruises or mold. Wash, dry, and cut them into uniform pieces.
- Prepare brine (or use dry salt):
- Brine: Dissolve salt in water.
- Dry salt: Some recipes just use salt, no water.
- Add herbs and spices to the brine. Popular choices include garlic, ginger, dill, bay leaves, mustard seeds, caraway seeds, cumin seeds, basil, oregano, thyme, red pepper flakes, and whole chili peppers.
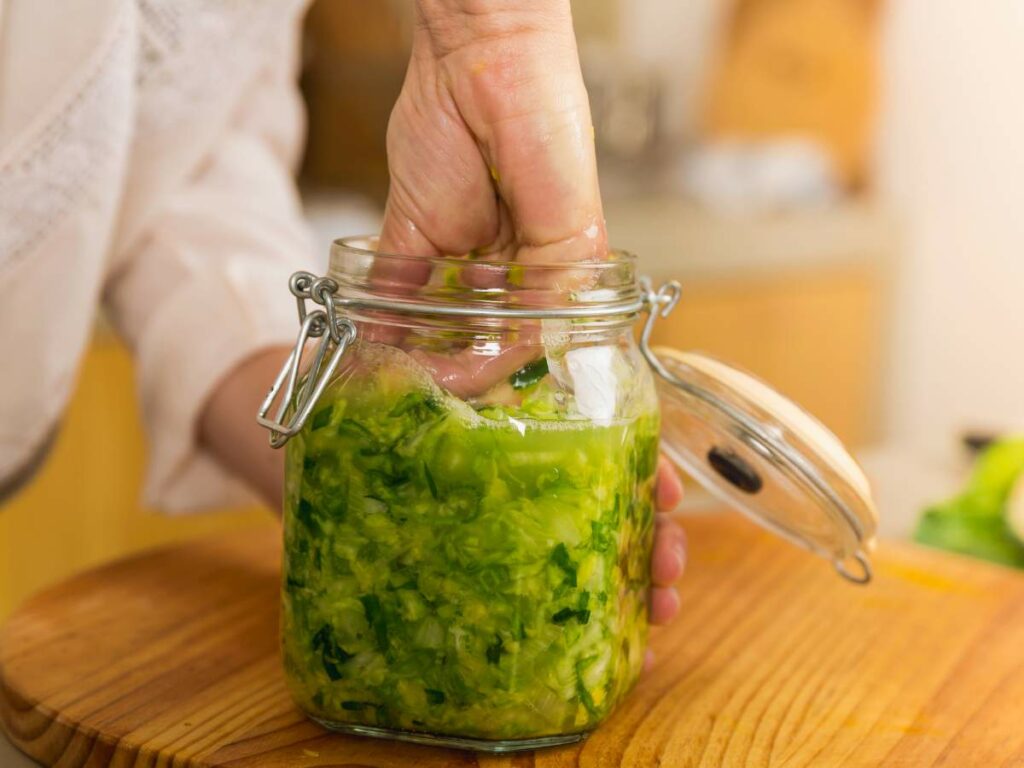
- Soak and store: Put the vegetables in the jar or crock, cover completely with brine, and weigh them down. Store in a cool, dark place (70-75°F) for the time specified in your recipe (usually 1- কয়েক সপ্তাহ).

Tips for Fermented Vegetables
- Keep vegetables submerged in brine in a sealed container.
- Store in the fridge or a cool, dark place.
- You can freeze vegetables before fermenting.
- Use fermented vegetables as snacks, side dishes, or ingredients in recipes.
- Follow tested recipes to ensure food safety. The “Ball Complete Book of Home Preserving” is a good resource.
- Signs of spoiled fermented food: Foul odor, mold (other than the usual white kind), unusual color changes, slimy texture, or an off taste. Throw it away if you’re unsure.
Fermenting vegetables is an easy and affordable way to preserve food and add healthy probiotics to your diet. With a little patience, you can enjoy delicious, tangy fermented vegetables at home!


